A starter can help improve your beer by increasing pitch rate, reducing fermentation lag time, and reducing stress on the yeast. All of these things can reduce or eliminate off flavors and increased ester production that stressed yeast can bring to the table.
I’m planning on brewing this Sunday, I happen to have time, so let’s make a starter shall we?
Required Items:
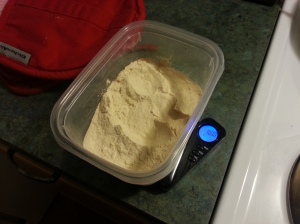
- 100g Light DME
- 1.5L Water (less if your boil-off rate is lower)
- Starter Vessel (I use an Erlenmeyer Flask but you can use what you’ve got)
- Stopper or aluminum foil to cover your vessel
- Measuring cup(s) – for water and DME if you do not have a scale
- Sanitizer (in the mini keg)
- Funnel
- Liquid yeast vial or packet, depending on your supplier of choice
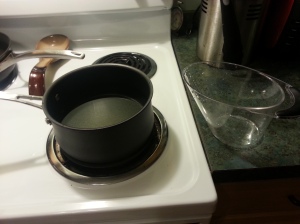
- Medium/Large Saucepan with lid
- Beer (I’m drinking my Lime Wheat)
Helpful Items:
- Scale for weighing DME
- Defoamer/Fermcap (boilovers suck)
- Stir plate
- Stir bar
- Timer
- Towels
Getting Started:
- Sanitize your things!
- Measure your water
- Weigh/Measure your DME
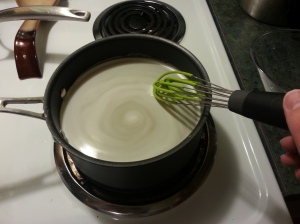
- Add your DME to the water, mix well, and start heating. Add your Defoamer at this point as well if you’re using it. Defoamer will not completely prevent a boilover (especially during hot break), but it will reduce the chances of one and make it more controllable.
- Boil 15 minutes
- Time’s up and the beer’s gone! Cut the heat and lid your pot.
- Move to ice water bath and chill until cool. Normal pitching temps (60-70) isn’t necessary since we’re not really worried about flavor, only growth; anything mid-90’s and lower is fine and won’t kill the yeast. I just use my hand rather than a thermometer to judge when it’s low enough.
- Pour into flask using funnel. If you trust your flask is actual borosilicate glass (Pyrex) you can add the wort hot and chill in the flask. Additionally, if you have a gas stove you can boil directly in the flask. I can’t read Chinese, so I chill in the pan to avoid shattering my flask.
- Don’t forget your stir bar!
- Pitch the yeast and fire up the stir plate. If you don’t have a stir plate, just occasionally give the flask a good swirl whenever you can. Increased aeration provided by a stir plate or swirling often boosts cell growth and keeps your yeast healthy and happy.
By Sunday the yeast will have consumed most of the fermentable sugar and be ready to step up to the show and pitch in the big leagues.


Interesting information, I am going to reblog this article for you.
Thanks!
Reblogged this on Truth Troubles.